

Dry Toilet System - Part of the Organic Garden Landscape
The Specification
The first stage in the dry toilet system is the construction of the compost bin, the specification for which is as follows:
Provide a wooden container to hold compostable material, protected from the weather and secure enough to prevent the ingress of vermin.
Easily erected 'on-site' with minimum tools.
Access for emptying of the compost should be via the sidewall(s) of the bin.
Capacity should be adequate for at least 18months to two years compostable material.
The Design
To this end I opted for a completed bin size of 800mm x 800mm x 800mm.
All the wood used was recuperated from pallets.
The unique design feature of this bin is that the walls comprise mainly of 'loose' planking which can easily be slid into (or out of) position.
The Fabrication

Four support posts (approximately 30mm x 80mm ) were cut to 800mm length. To make the front and rear walls, 800mm long planks were screwed to the top and bottom of each pair of posts thus producing a square frame.

These planks have to be 3mm or so THICKER than the rest of the planks selected for the walls. On top of these planks and in line with the support posts were screwed two more 800mm planks (I call these 'corner post planks').

The front and rear walls were joined by four planks (once again the thicker wood) screwed to the top and bottom of the outside faces of the support posts. The top planks in this case were 100mm longer (900mm) than the lower planks and the additional 100mm projected from the rear of the now cubic frame so as to provide hinge points for the lid.

Finally, four more 'corner post' planks were screwed on top of the upper and lower side planks. As with the front and rear walls these were in line with the support posts.
The lid was a U-shaped frame made from pallet planks such that the frame fitted over the front and two sidewalls of the bin.

30mm x 15mm laths were nailed to the top edge of the frame to support the waterproof covering (in our case it was roofing felt). prior to attaching the covering the frame was positioned on the bin and the hinge holes were drilled through the frame and through the overhang at the rear of the frame.

Two 6mm x 70mm long coach bolts were used as the hinge pivots.

The waterproof material was cut and attached to the lid frame. I like to 'trap' the material with thin laths of wood which are screwed to the frame.
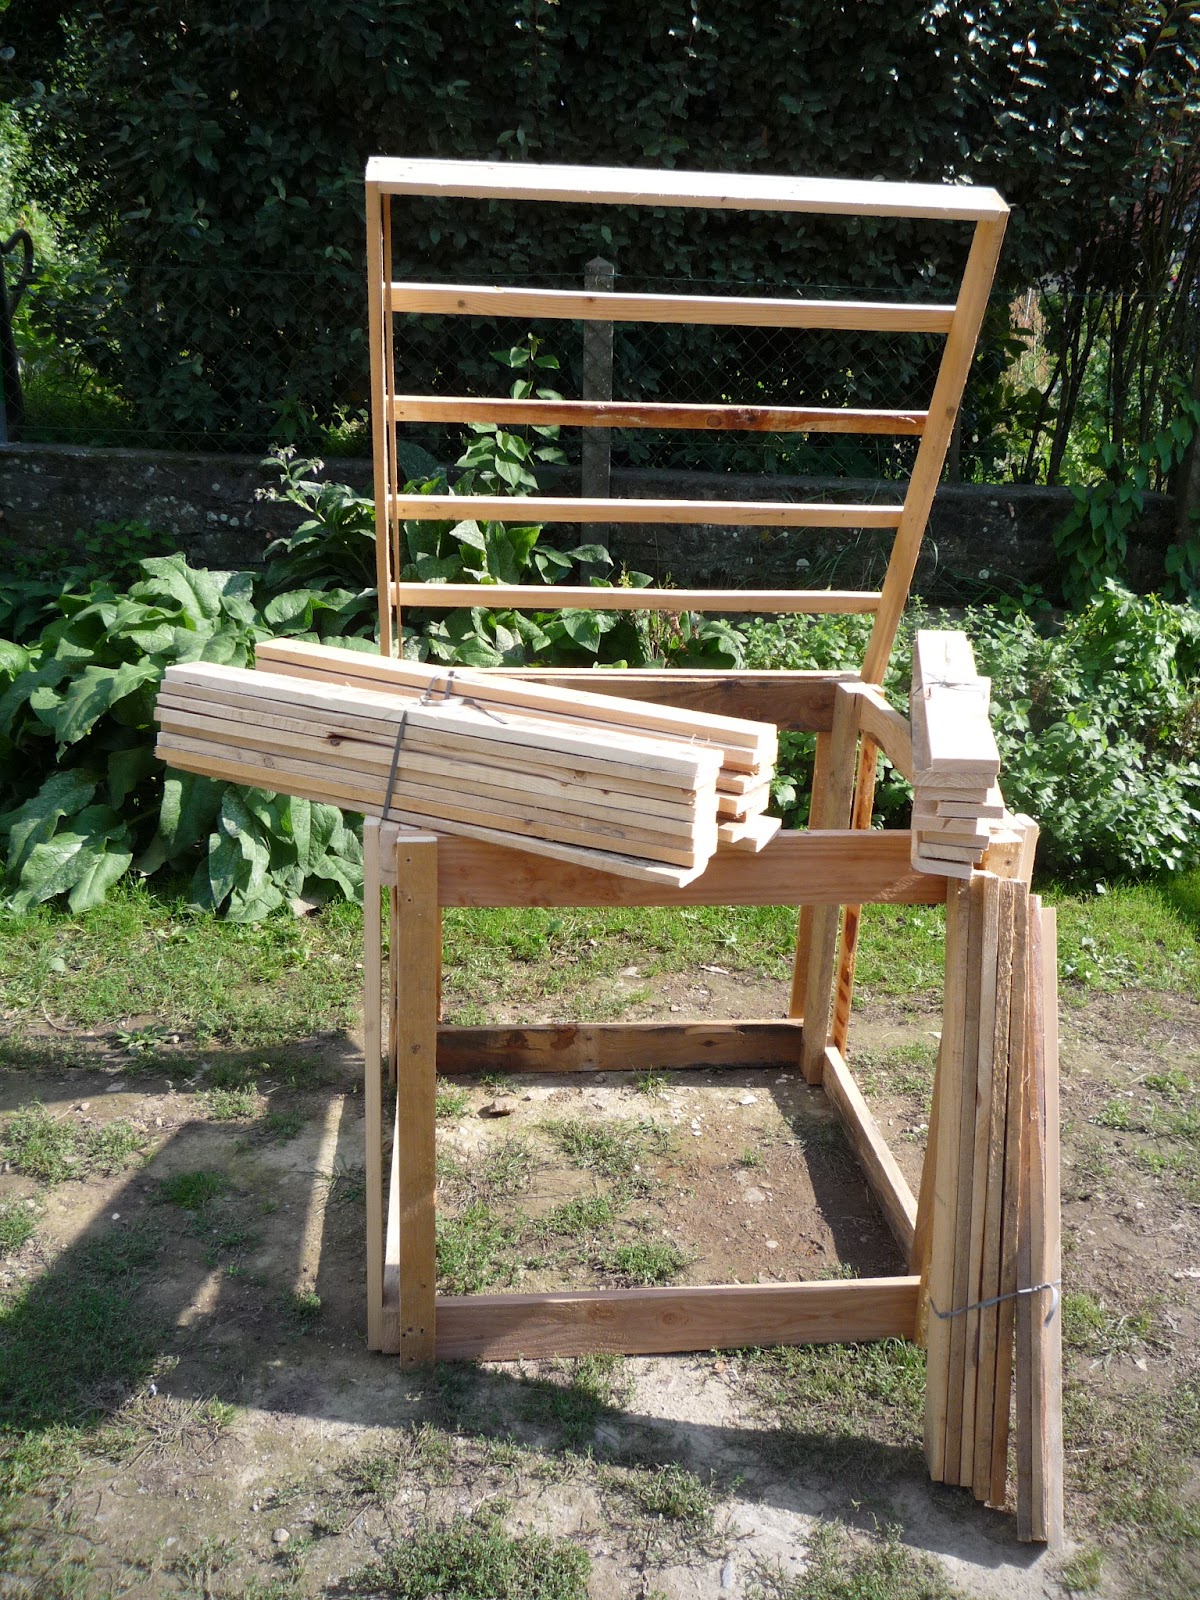
Sufficient pallet planks were cut to 800mm length to make the walls. To fit in position each plank was slid in the gap between the corner post and the corner post plank. It was not necessary to fit the planks to the full height of the wall to but leave a gap at the top of about 10-20mm.
The bin was then dismantled, merely leaving the front and rear wall frames intact, so as to transport all the components to the desired location in the garden.

Reassembly was reasonably rapid as all the screw holes were now pre-drilled.

Once the wall planks were slid into place composting could begin!
Obviously, to empty the bin of the compost, the wall planks are slid to one side and access is easily obtained. In addition it is possible to empty the contents from any side Thus if you wish to place another bin next to the first then its proximity will not affect the emptying operation of either bin.
Now sit back and watch the film:
Thanks for dropping by and please feel free to share this article, comment, ask questions and if you'd like to be assured of getting the next post, then sign up to follow this blog. Part Two - The cabin can be found here
All the best, Andy
© Andy Colley 2014
Thanks for dropping by and please feel free to share this article, comment, ask questions and if you'd like to be assured of getting the next post, then sign up to follow this blog. Part Two - The cabin can be found here
All the best, Andy
© Andy Colley 2014

awesome post. Great work. gave me lot of ideas
ReplyDeleteThanks! All the very best, Andy
Delete