Showing posts with label Hen House. Show all posts

DIY Pallet Wood Hen House Chicken Coop Part 3 - Assembly.

The little touches that count and just give the Hen House a feel of home.

It's day two and the Chicks have still to try out their new home. Now the foundations are down I'm hoping all will go well. The big question you may be asking is how do I know all my workshop fabricated kit will fit together? Quite simply because whilst it was pouring down with rain outside and there was no chance of erecting it, I did this....


Set the whole thing up in the Kitchen! It's something I did before, though not indoors, when I made the roof structure for the Tiny House in the Garden. It's a really good idea if you can just do a trial run fitting a project together somewhere you can easily get all round access  rather than waiting until the project is in situ.


It also means I can check the alignment of bolt holes in the corners and mark them up for ease of assembly. After all, who knows how long the dry spell of weather will last.


The pallets are laid onto the prepared foundation blocks. Providing they are standard pallets, all four should be at the same height.


The rear wall and one section of the side wall are assembled to make a self-supporting structure, to which the other walls may be attached.


Andy's Handy Handling Hint


To get the roof panels up through the forest garden without causing damage to trees and bushes and for ease of manoeuvre. I made this simple pallet wood bogey. I used wheels recuperated from an old lawn mower.


It also means that the project can be handled by a person working on their own.


As the night comes down, two roof sections form a temporary cover, secure enough to allow the hens to spend their first night in their new home.


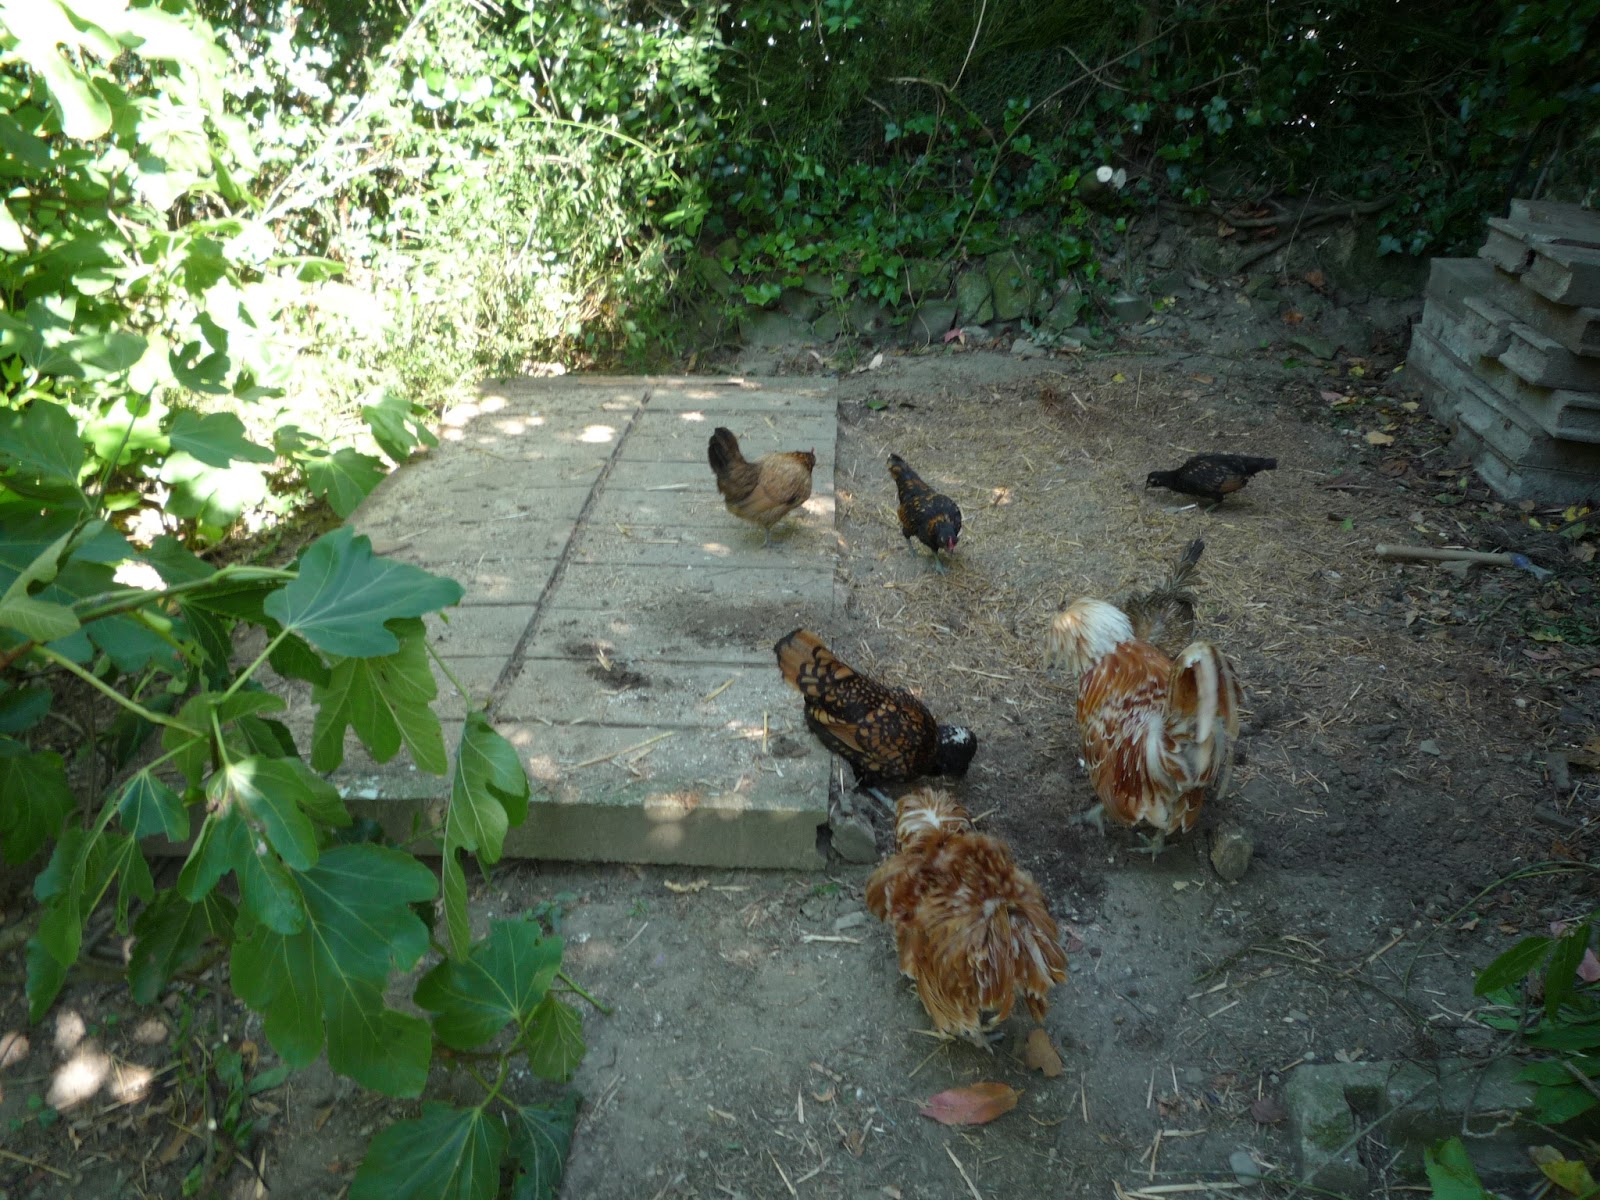
The time was ripe to build this new house because this year Sue has launched us into Cochin Pekins (twelve new babies in all) and seven of them have just been left by their Mother so they are ready to enter a group. As chicks with a mother hen, they have had the right to pass throughout the garden but left alone they need to be attached to a house so as to establish territorial rights. A brand new house, which is new for the whole group makes it much easier for the established flock to accept the chicks because territorial possessions such as the house and perches have changed. If you want to see the new chicks in action:


The next part of the assembly is quite involved so needs a post to itself to complete and it can be found here

Thanks for dropping by and please feel free to share this article, comment, ask questions and if you'd like to be assured of getting the next post, then sign up to follow this blog.

All the best, Andy

© Andy Colley 2014

DIY Pallet Wood Hen House Chicken Coop Part 2 - Dismantling and Foundations.

Be it ever so humble - There's no place like home!

It may be small and compact but a couple of these pallet wood hen houses will be all we'll need in the way of temporary living and sleeping accommodation, when we finally get that couple of hectares in the back of beyond (Brittany or Italy). Like most of what we have done here over the past twelve years, this too will be both a learning experience and an experiment in greener living. I noticed a recent post on a friend's facebook in which a councillor, who is blocking a small, sustainable homesteading development in the UK, ironically described her reasons as: "Nobody would subject themselves to that way of life. You might as well be in prison". Read the whole illuminating story here: http://www.lowimpact.org/blog/2012/Sep/smallholding_is_like_prison.htm 
All we can think of is how much more freedom, intellectual, spiritual and physical energy we have gained by changing our own lives. A small laboratory with no windows or perpetually putting Sue's life in risk out driving between eight schools on treacherously fast roads, really was  incarceration for both of us.


Leaving the dear old home


But whose home? The old hen house actually started life as the quail run. Later Sue raised quails under bantams, who got the chicks so good at foraging they outgrew living in runs and could thrive and do great work in the greenhouses.


It's also weathered some incredible storms and conditions and still kept everyone cosy.


So this last breakfast must be taken with mixed feelings by all concerned!


Dismantling


When taking anything apart, we're always aware that even after years of use there may be items of metal fixings, woodwork or waterproofing that can still serve in another capacity. So it can be quite a lengthy process.


These doors, which formed part of the roof, were themselves recuperated from a joinery firm, a good supplier of recycled materials. In the end we had too many and didn't need them for the main house renovation but now they have been released from service they will be put to good use elsewhere.


Actually, the doors are reused sooner than expected. Recuperating as many screws and wood as possible makes for a slow dismantling rather than a speedy demolition. The job is going to carry over to the next day, so the doors serve as a temporary roof to get the chickens back inside. They will not be spending the night here but it gives them an assembly point for us to ferry them across to the outbuildings.


Next morning, it's an early start and on with the job. Another beautiful Summer's day in the offing.


The Foundations


The foundations on the old house will be recycled for the new but fewer than half of the concrete blocks will be used due to the design., I'm ever trying to use less and less of non-ecological material. If I hadn't already had these blocks, I would have used a foundation of broken stone, retained by a pallet wood perimeter, as used in the dry toilet construction.


The soil under the blocks provides a layer of excellent compost, which we ferry down to the greenhouses. Via the recycled pallet wood wheelbarrow, of course!

As usual, I get a lot of help from the hens sorting through the soil before I load it into the wheelbarrow. They are fantastic at scooping up all the woodlice. This is Apricot, one of the new twelve Cochin chicks hatched in April. If you want to see them in action: Our Homestead/Smallholding


After pegging out the footprint of the Hen House, we can now start laying the foundation blocks, ensuring they remain level as the job progresses. Once this is done, the rest should be a piece of cake!


...and talking of cake, why not sit back now and enjoy the video and see what will be coming in the next post, which can be found here


Thanks for dropping by and please feel free to share this article, comment, ask questions and if you'd like to be assured of getting the next post, then sign up to follow this blog.

All the best, Andy

© Andy Colley 2014

Building a Pallet Wood Hen House Chicken Coop and Prototype Tiny House Part 1 Design & Construction


With our house up for sale, we have two main priorities, one is having all the hen houses upgraded to ones that can be easily dismantled and moved with the hens and the other is having a plan for the tiny house we are going to take with us when we move.


We've thought this over and decided that it will be more ecological, less costly and more permanent than buying an RV or caravan to live in whilst constructing our new Eco House. To this end we designed the hen house not just as accommodation for the hens but as a prototype for something we could build here in the workshops and then take in kit form to our destination. As you will see, when you watch the film on construction and assembly, this design can be made with an extra inner skin of cladding and the gap between filled with straw or hay for insulation. A couple of years back we built just such a tiny wood and straw house with a friend and his three boys, whilst they waited to build their own main house. The design of incorporating an insulating layer of straw and hay is often coupled with building the house on pillars. This latter, to leave an air-gap underneath, which can then be boxed in, is a popular way of building a tiny house both here in France and Quebec. It will be of particular use to us in moving to Brittany, where in the Winter months it can be 'slightly' damp!

The Hen House


As if to prove my previous statement, when we had constructed all the parts of the house we had to leave the assembling of it for a couple of weeks due to torrential rain. In the meantime, Sue made up this artist's impression of the final design!


This design was tried and tested. We had already had one up and running for two years and the hens loved it. The main cost (total of which is around  25 Euros (Dollars), was the price of the roof covering - a heavy duty tarpaulin. This is necessary if, like us, your hen house can be subjected to all types of severe weather conditions.

Materials


We used twenty-four standard (120cm x 80cm), untreated pallets in all. These included the four which were used for the base. Obviously, if you only have a few hens the base can be cut down but for ease of cleaning and access the height should be kept the same. 


To complete the complement of pallet wood, we also used twenty-four planks (1800mm in length and 23mm thick). These were cut down to a width of 40mm. These planks were obtained from the uprights of pallets used to transport furniture and can be found at most outlets selling sofas, beds and larger items. They are also used by companies making or transporting glass and double glazed window units - look around your area to see what's on offer.


The Base


Start by prising the planks from the four foundation pallets.


Then reposition and renail with additional planks.


Bend over nails. Using long nails is a secure way of anchoring the planks to the support frame.


Alternatively, if the planks are difficult to remove for repositioning and you have plenty of pallet wood available, nail a layer of planks on top of the pallet at right angles to the original planks.


Wall Panels and Doors


Each side has two panels of different lengths to avoid the wall joints coinciding with the base pallet joints, which would weaken the structure.


Use the pallet as a gauge to ensure the correct height of the wall panel frames (standard length of 120cm) is attained. In the film you will see that I chose one panel of 1.40m length and the other 1.00m.


Once made and checked for square, add cladding.


On both gable end walls, provision is made for a door. This is needed for a good through draught in hot weather and also for ease of cleaning and removal of perches.


Make door frame and check for fit.


Clad door and fit hinges.


Gable Ends


Cut base of triangle to the exact width of wall and cut a 45° angle at each end.


Mark and cut other two sides of gable end panel and screw together.


Clad


 Trim


Roof Panels


Make up four roof frames using foundation pallets as an assembly bench


Cover with tongue and groove cladding.


Sit back and watch the film..


Bob and friend looking forward to assembling the house. The assembly is shown in the following three part blog posts and includes the demolition of the old hen house and the laying of the new foundations - the first one can be found here


Thanks for dropping by and please feel free to share this article, comment, ask questions and if you'd like to be assured of getting the next post, then sign up to follow this blog.

All the best, Andy

© Andy Colley 2014