Showing posts with label DIY. Show all posts

DIY Pallet Wood Hen House Chicken Coop Part 2 - Dismantling and Foundations.

Be it ever so humble - There's no place like home!

It may be small and compact but a couple of these pallet wood hen houses will be all we'll need in the way of temporary living and sleeping accommodation, when we finally get that couple of hectares in the back of beyond (Brittany or Italy). Like most of what we have done here over the past twelve years, this too will be both a learning experience and an experiment in greener living. I noticed a recent post on a friend's facebook in which a councillor, who is blocking a small, sustainable homesteading development in the UK, ironically described her reasons as: "Nobody would subject themselves to that way of life. You might as well be in prison". Read the whole illuminating story here: http://www.lowimpact.org/blog/2012/Sep/smallholding_is_like_prison.htm 
All we can think of is how much more freedom, intellectual, spiritual and physical energy we have gained by changing our own lives. A small laboratory with no windows or perpetually putting Sue's life in risk out driving between eight schools on treacherously fast roads, really was  incarceration for both of us.


Leaving the dear old home


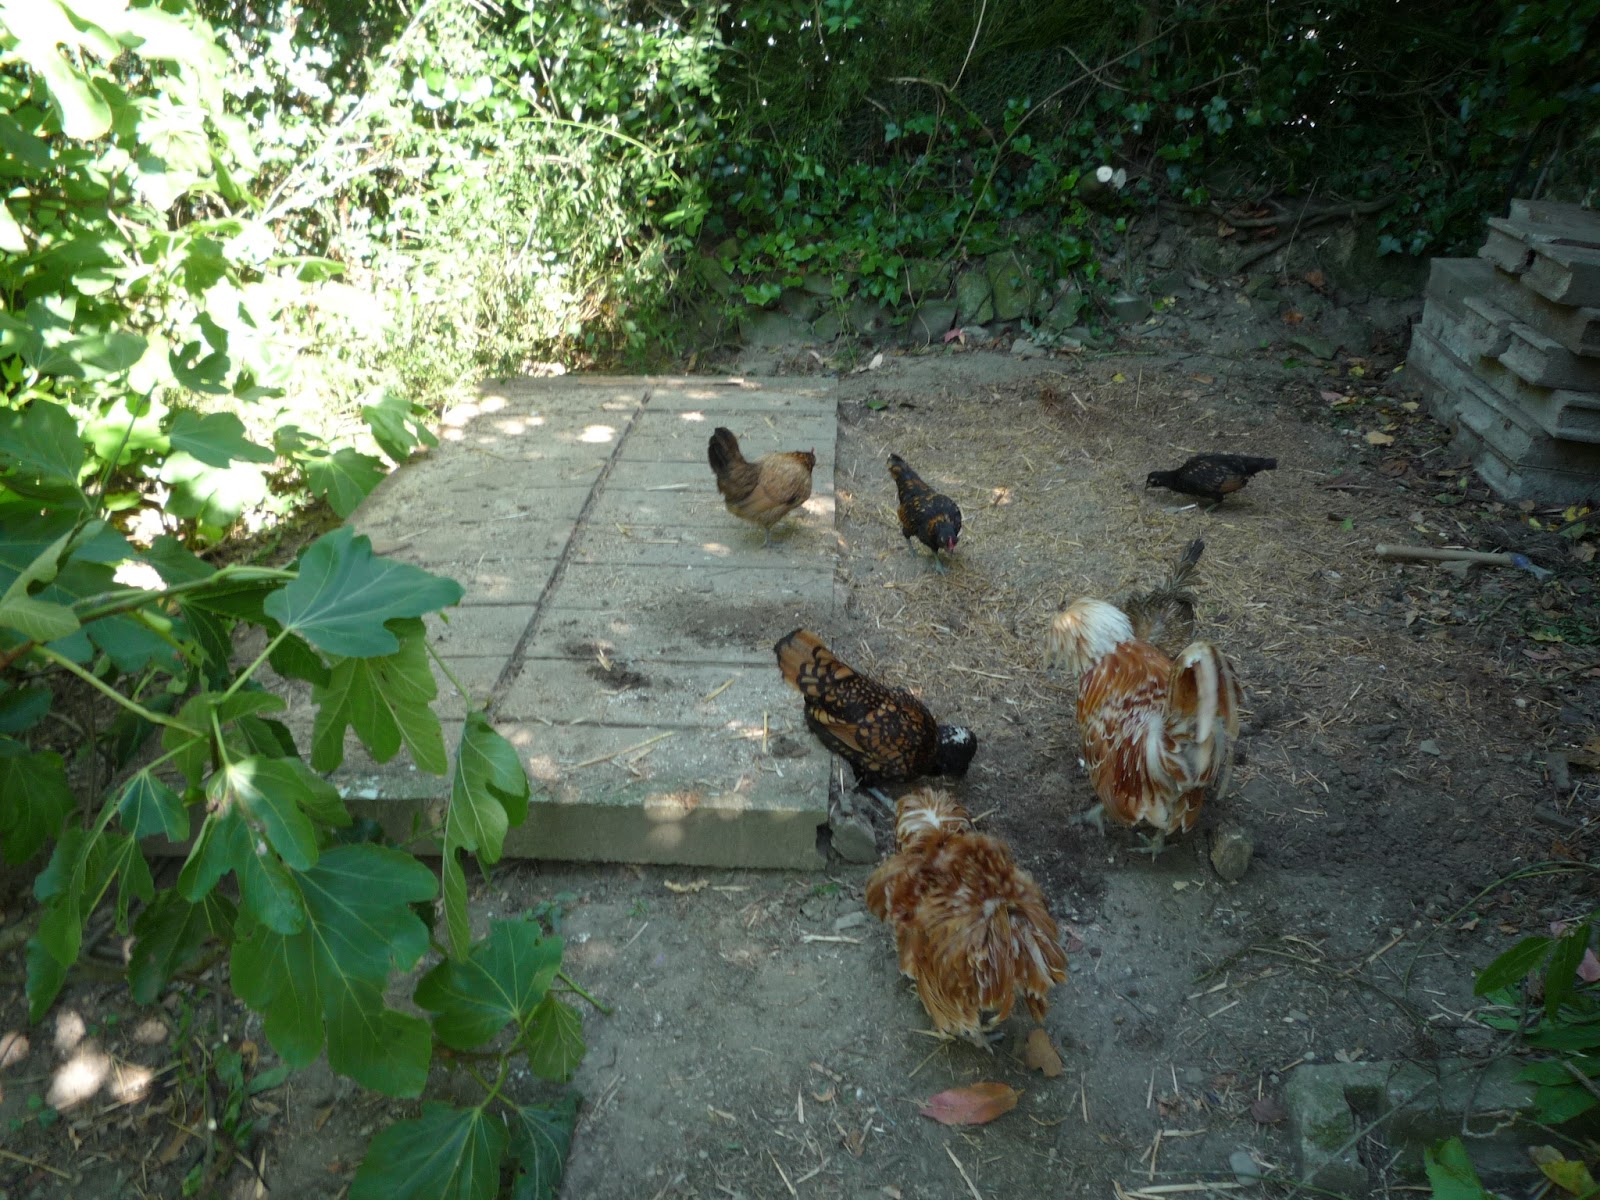
But whose home? The old hen house actually started life as the quail run. Later Sue raised quails under bantams, who got the chicks so good at foraging they outgrew living in runs and could thrive and do great work in the greenhouses.


It's also weathered some incredible storms and conditions and still kept everyone cosy.


So this last breakfast must be taken with mixed feelings by all concerned!


Dismantling


When taking anything apart, we're always aware that even after years of use there may be items of metal fixings, woodwork or waterproofing that can still serve in another capacity. So it can be quite a lengthy process.


These doors, which formed part of the roof, were themselves recuperated from a joinery firm, a good supplier of recycled materials. In the end we had too many and didn't need them for the main house renovation but now they have been released from service they will be put to good use elsewhere.


Actually, the doors are reused sooner than expected. Recuperating as many screws and wood as possible makes for a slow dismantling rather than a speedy demolition. The job is going to carry over to the next day, so the doors serve as a temporary roof to get the chickens back inside. They will not be spending the night here but it gives them an assembly point for us to ferry them across to the outbuildings.


Next morning, it's an early start and on with the job. Another beautiful Summer's day in the offing.


The Foundations


The foundations on the old house will be recycled for the new but fewer than half of the concrete blocks will be used due to the design., I'm ever trying to use less and less of non-ecological material. If I hadn't already had these blocks, I would have used a foundation of broken stone, retained by a pallet wood perimeter, as used in the dry toilet construction.


The soil under the blocks provides a layer of excellent compost, which we ferry down to the greenhouses. Via the recycled pallet wood wheelbarrow, of course!

As usual, I get a lot of help from the hens sorting through the soil before I load it into the wheelbarrow. They are fantastic at scooping up all the woodlice. This is Apricot, one of the new twelve Cochin chicks hatched in April. If you want to see them in action: Our Homestead/Smallholding


After pegging out the footprint of the Hen House, we can now start laying the foundation blocks, ensuring they remain level as the job progresses. Once this is done, the rest should be a piece of cake!


...and talking of cake, why not sit back now and enjoy the video and see what will be coming in the next post, which can be found here


Thanks for dropping by and please feel free to share this article, comment, ask questions and if you'd like to be assured of getting the next post, then sign up to follow this blog.

All the best, Andy

© Andy Colley 2014

Make a Pallet Wood Creel or Overhead Drying Rack for Clothes, Herbs and Flowers


Cheap and cheerful engineering in the practical use of recycled, untreated pallet and fruit crate wood to make a pulley creel/dryer.


I had two main reasons for making this drying rack, firstly because our teatowels were getting singed on the woodburner and secondly we had a huge crop of chillies to dry and store.

However, this rack, which in the Winter we use to dry clothes, could be made at least twice the size and give ample room to dry all your washing. I decided to go the whole hog and fabricate the pulleys. It was not as hard to make them as I had supposed. Even if you are just starting out in woodworking I think you will find that you will be able to make them quite easily by just following the steps set out below.


If you decide, as I did,  to cut the clothes rails down from pallet wood planks, then I would recommend using a circular saw. Alternatively you could buy three broom stales or wooden dowels (the former I could get here for 1 Euro each) but I enjoy the challenge of making everything from recycled wood! 


You will also need a set of hole saws to make the different components of the pulleys, these are inexpensive and usually easy to find as they are commonly used to cut large diameter holes for electrical installations. They are also a good investment as they provide a cheap alternative to buying expensive, large size wood drill bits. You often find them included in drill sets. My set of seven hole saws was included in a set of drills and the  collection cost 12 Euros.


Step One - Making the Pulley Wheels & Housing with some tips on sourcing fruit crate wood


I chose a specific fruit crate wood, which is 3 ply, these are quite common and are usually for transporting oranges and other heavier fruit and vegetables. The side and end pieces are wide enough to be very useful in all kinds of projects. Keep a good look out for these particularly now in the marmalade orange season!


Robust 3 ply fruit crate wood, or in this case a potato box.


Cutting out the basic pulley components


From a pallet wood plank cut 3 discs at 50 mm diameter.


From a fruit crate (orange box) cut 5 discs at 60 mm diameter. 


 Drill out central hole to dowel diameter.


Assembling the pulley components


You will be making two pulleys, one single and one double. The double pulley maintains the separation of the cord attached to each end of the rack and combined with the single pulley enables the free running of the cord.


Starting with the single pulley, glue both faces of the smaller pallet wood wheel and attach to the faces of the larger fruit crate wheels. To ensure correct alignment of the central hole, insert the dowel shaft prior to clamping (do not glue this).


Clamp and leave to dry as per Manufacturer's instructions for the glue you are using.


 Repeat for the double pulley.


Making the pulley housing


Each pulley housing comprises a base and two sides. They are made from pallet wood and I shaped the ends to make them more aesthetically pleasing but there is no need to do this.


Cut 4 sides and cut 2 bases. The base should be slightly wider than the pulley. Drill hole for dowel and having marked base thickness on sides, drill clearance holes for screws.


Glue and


screw


Prior to screwing the second side, fit the pulley on its shaft into the housing to ensure shaft alignment


Step Two - Making the Rack. Cutting out the basic components


I used a coat hanger as a pattern for the end plates of my rack.


Cut two end plates from a pallet wood plank.


Cut the square section rails from pallet wood.  Each end should be shaped to fit the holes you will drill in the end plates. I used a penknife to shape the rail ends.


Step Three - Assembly


Glue and if you want to, though not necessary, clamp.


Mount pulleys to ceiling joists, sit back and watch it on film.


If you have enjoyed this article and found it interesting then share it with your friends on social media or suchlike. Please also feel free to ask questions and or make comments and if you found this helpful and would like to support this site you can always Buy Me a Coffee at ko-fi.com =$3.

Until next time and from a sunny day in Normandie,

Cheers, Andy
© Andy Colley 2014
RETURN TO GREEN LEVER CONTENTS PAGE FOR MORE ARTICLES 

Where & How to Collect Pallets - Identifying untreated wood, safety and good housekeeping

Pallets - The Low-down - Where, What and How?


So you've been round to your local big chain supermarket and they've told you all their pallets are reused. Well this maybe true for them but not for all pallets. In Europe consigned/reusable pallets are painted a specific colour, which designates the company who owns them. Funnily enough sometimes bits of these blue and red pallets actually turn up on building sites in scrap wood but they are the least useful of all the pallets and I would never use them. What you are looking for are the unpainted untreated pallets.


The pallet shown above is a very unusual one in that it is an 'in-house' pallet made of untreated wood for the specific purpose of transporting a display stand for an exhibition. It was put out for me after use.

BE PREPARED Any time we are out in our car I carry what I call my pallet finder's kit:

ropes

quality work gloves
 

wood saw

steel toe capped work boots

a hard hat (for entering building sites)

and a red flag!


That way I'm ready for a maximum pallet haul!


For a specific job you may also require thicker or longer timber so you should have a whole range of pallet providers in your recuperating itinerary. Pallet collecting is logical. Firms which transport/manufacture/sell large and heavy items have substantial pallets. So a few of the companies I collect from, for example, are swimming pool manufacturers, exhibition stand makers and a double glazing and joinery firm. All these are small family type businesses. I know the people who own them and/or the foreman. I didn't start out knowing them I just saw the pallets and went in and asked.


The upright from a plant transporter pallet.

Using five of these uprights I created the sides of the greenhouse frame below.


This is one of my first major pallet wood projects and you can find the link to the written article and film: The Five Euro Greenhouse, which shows the detailed construction at end of this post.

After I had made the above greenhouse, I then went on to design and make another but this time combining recuperated glass windows with the pallet wood frame, again there is a link at the end of this post.


Let Companies Know What You Are Doing With Their Pallets


I always make a point of telling the providers why I want the pallets and I ask for their e-mail addresses to send pictures of the finished item. I also give out  links to my youtube site so they can see the films. That way my pallet donors get feedback on the transformation of an eyesore and nuisance which was hanging around their parking lot. There is another side to this too, many of these businesses are only too glad to find I am recycling this resource. As intelligent, thinking people, they are only too aware that their waste is ending up in landfill and/or is being burnt in open fields and they are, to say the least, not very comfortable with this idea. So in repurposing and reusing pallets you are, helping yourself, helping others and helping in the long-term to conserve the planet. Often company personnel will see you entering their premises and bring out pallets fresh from the warehouse, on rainy days this can be very welcome!

Cracking the pallet codes


Understanding pallet 'seals' is an important factor and something you need to mug-up on before you set out on your first collecting trip. There are many sites including Wikipedia, which will explain these but I'm posting this here to give you an example of what you are looking for.

This 'seal' will be located on one of the pallet blocks:

The 'wheat stamp' denotes IPPC compliance, confirming the pallet to be made of de-barked wood. Useful if you were unsure whether the wood was real!

DK -  the country code i.e. in this case Denmark.

8C - the pallet manufacturer.

S5 - the treatment company.

HT - Heat Treated = Gravy!


All wooden crates and pallets in 74 countries of the world have an International Plant Protection Convention (IPPC) seal on them. These denote several things but the most important are the bottom two letters - you are looking for pallets with no chemical treatment. In the US fumigation with methyl bromide, coded MB, is more common than in Europe, where heat treatment (HT) is the norm. However, treated pallets do occur in Europe even though you will find several sites informing you they don't! In the case of chemical treatment you will also see the resultant discolouration. Many garden centre suppliers, for example, dip items or conveyor spray them and their carrier pallets simultaneously and you will see immediate evidence of this in the blue-green 'dye' infusing the whole pallet.


Here's something we haven't seen before on pallets but is very welcome. It's the eco label for managed and sustainable forestry. Read all about it here: http://www.sacert.org/woodmark/pefc


Happy Hunting!

All the best and thanks for dropping by and if you enjoyed this post, please feel free to share, ask questions or comment.
Cheers, Andy

© Andy Colley 2014

RELATED ARTICLES

A Few Guidelines for Collecting Pallets

I thought it might be helpful if I shared my five rules to make it easier for you to obtain the basic material...read more

How to Dismantle Pallets for free Carpentry Wood

The first thing to do with your pallet when you’ve got it out of the car is look underneath it and see if the nails attaching the planks are visible...read more

The 5 Euro/Dollar/Pound Greenhouse

Home-made low cost greenhouse designed to use free untreated pallet wood. How to build a viable, safe, year-round food production system...read more 

Home-made, Big Cheap Glass Greenhouse from Old Windows Pt 1 (of 3) - Design

The idea for the greenhouse was to have something that was both decorative and practical...read more

DIY verandah-style greenhouse, sunspace, draught lobby

I love this greenhouse, it seems so right in the surrounding rural scene and it's made from an interesting eclectic mix of recuperated...read more

Pallet Wood Hen House/Chicken Coop & Tiny Tiny House - Part 1 (of 4) Construction

We designed and have already built one of these coops not just as accommodation for the hens but as a prototype we could build here in the workshops... read more


Pallet Wood Garden Gazebo Part 1 - Posts & Framework

We want to spend as much leisure time in the garden as possible. Much as we love our poultry we do draw the line at...read more


Pallet Wood Garden Gazebo Part 2 - Trellis and Door

The perimeter of the garden gazebo now being complete,  the next stage was to make it chicken proof, starting with the door...read more


RETURN TO GREEN LEVER CONTENTS PAGE FOR MORE ARTICLES