In the words of Bertie Wooster 'quail high' seemed a good starting point. I also needed to make the dummy a good working height for trying out designs in situ.
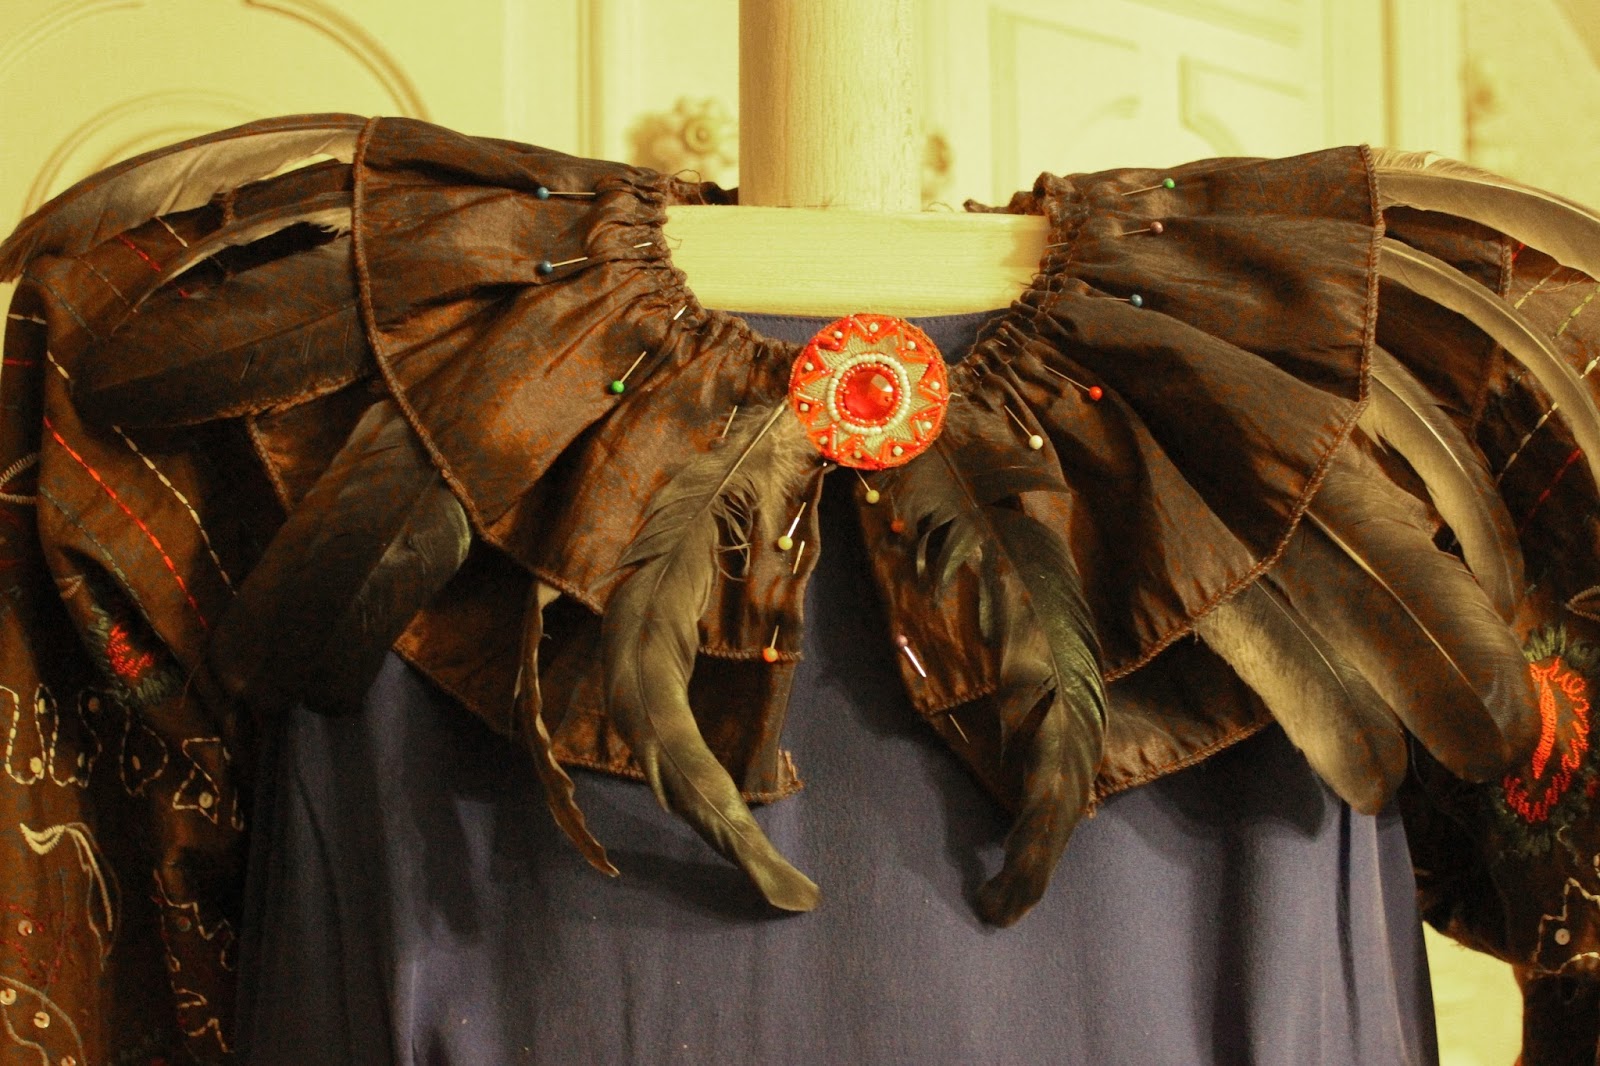
For her first costume Sue was making a trompe l'oeil sarafan, which involved refashioning a silk shift dress and a beaded and embroidered cotton skirt. To make sure that she would get the effect she wanted, she needed to be able to pin the skirt pieces directly onto the dress.

She also was making a feathered collar so needed to be able to see how it would lie on the shoulders and fit around the neck.
For the Body Bits aka Vital Statistics
With the list of measurements to hand, I made a flexible guide equivalent to each dimension.
For each measurement I marked the length on a piece of electrical cable. By then making the cable form a circle and taping its free end to the measured mark I had a circle/oval whose circumference was that dimension. I then placed this pattern onto some 18mm(3/4”) laminated pine board, carefully ensuring a symmetrical shape and traced around the perimeter with a pencil, transferring the outline onto the board.
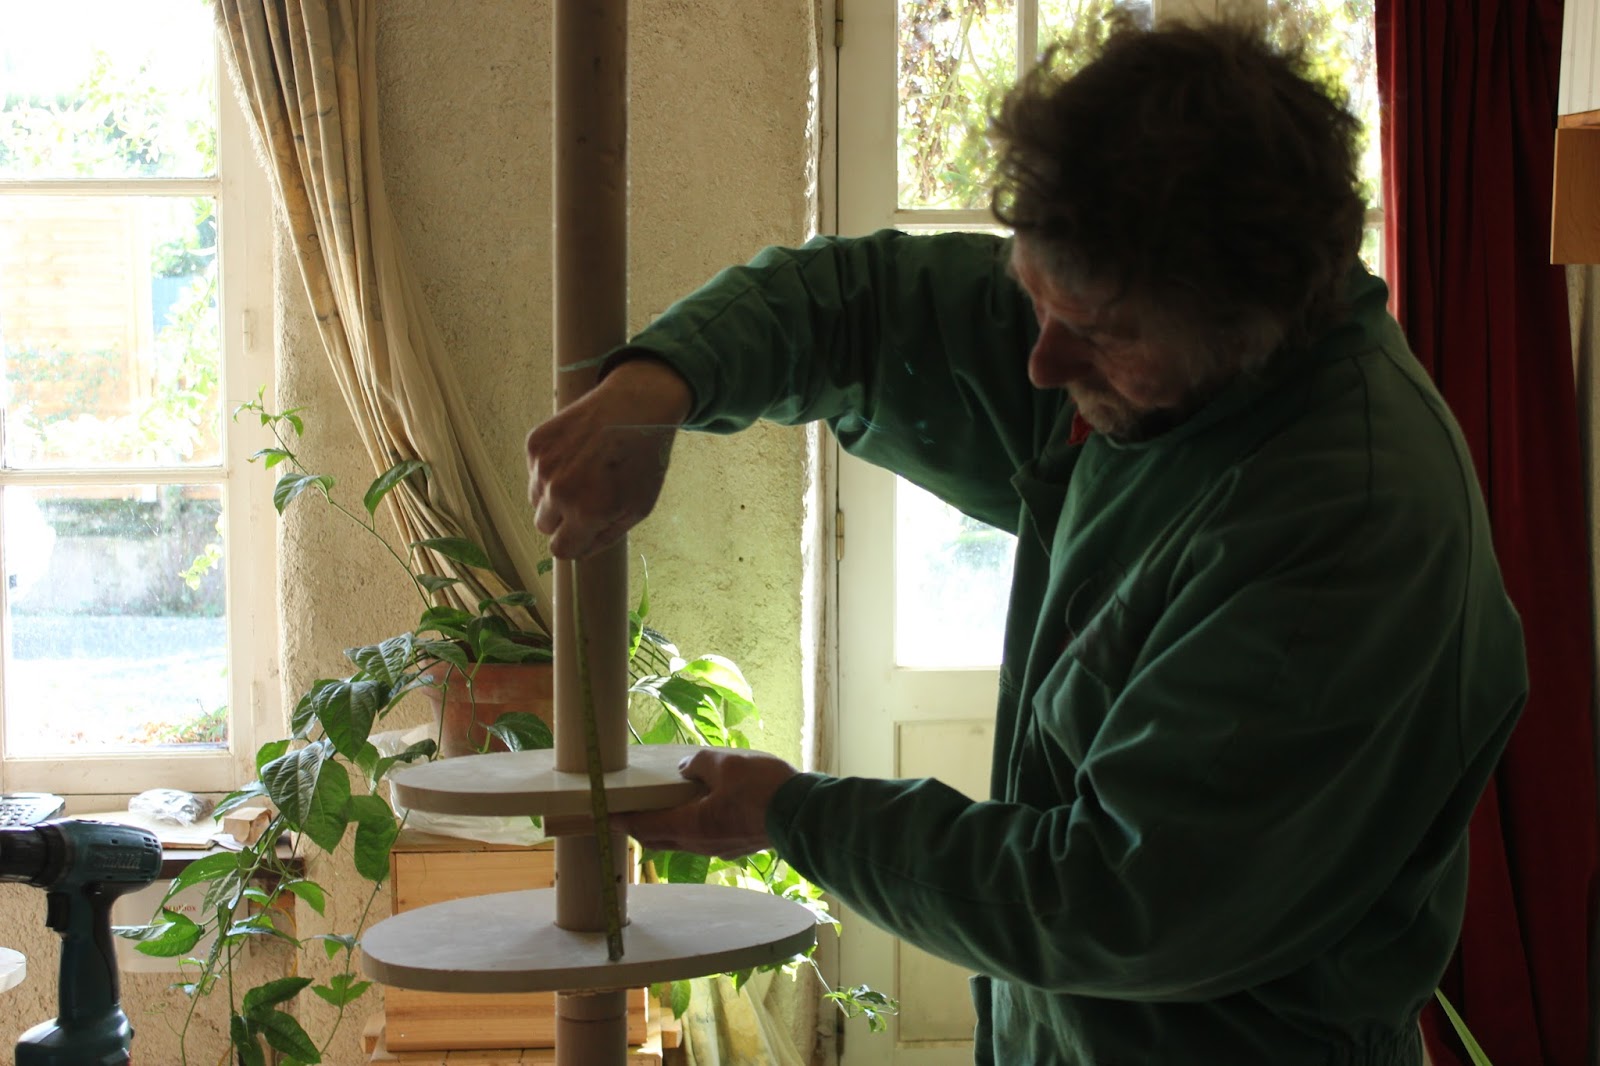
The piece was then cut out from the board using a jigsaw and the dimension of the cut piece checked with a dressmaker’s tape. I found that I tended to achieve a slightly oversized value and this I modified by removing the surplus with a belt sander. This also helped to attain a smoother shape to the profile of the cut piece.
Each piece needed a clearance hole made in it to fit onto the pole. The position of the hole was central to the left and right edges but I decided to offset the front to rear position of the hole in the bust/chest part by about 30mm (11/4”) this to give some shape to the mannequin more representative of the human form.
The ‘shoulders’ of the mannequin were made from two pieces of planed pallet wood glued together. The top piece was narrower than the lower and its edge was shaped with a plane and belt sander to form a well-radiused cross-section.. I started with pallet wood pieces 470mm x 90mm (181/4” x 31/2”) for the lower and 470mm x 80mm (181/4” x 31/8”)for the upper.
All of these forms had to be attached to the vertical pole so a wooden collar was glued to each one.
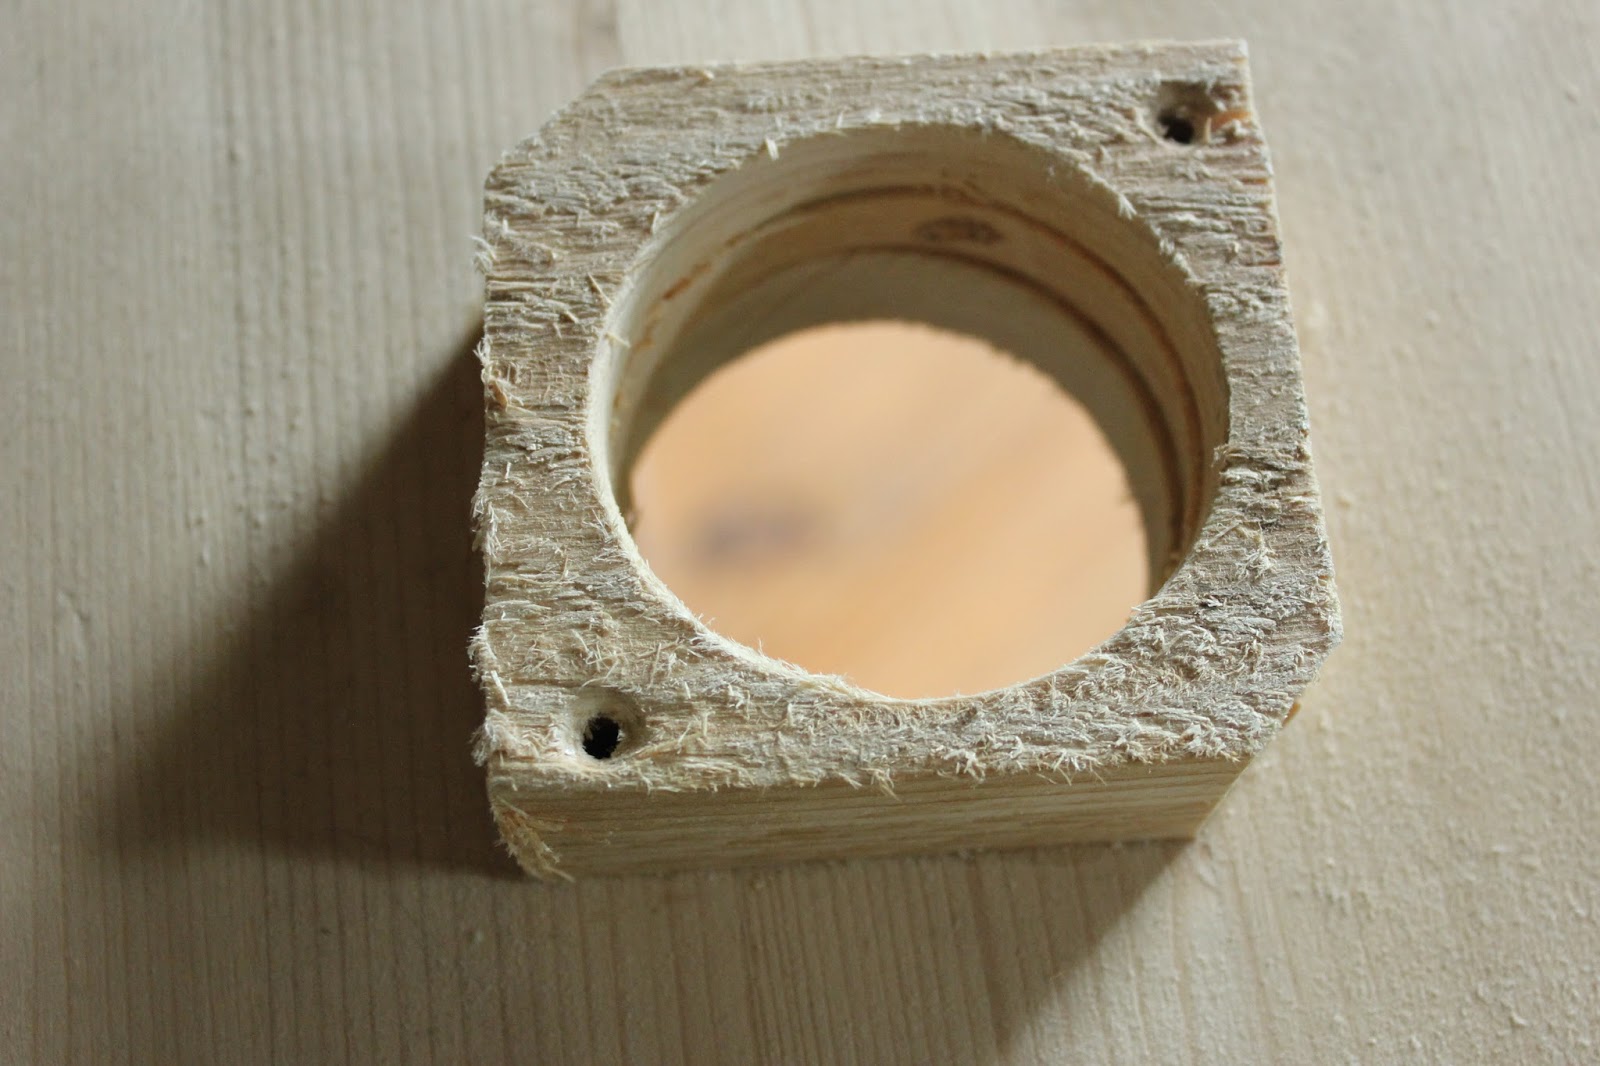
The collars were cut from 26mm (1”) thick pallet wood 70mm (27/8”) wide. The pieces were cut to 70mm long and a clearance hole for the pole (57mm diameter) was cut through the centre of each one. I used a fine-toothed pull saw to cut two opposite corners of each collar so as to furnish a flat face into which a clearance hole for the fixing screws could be drilled. A further couple of screw holes were drilled through the block on the upper face of the collar to provide temporary assembly screw holes. I tried it first with one flat face but decided to add two fixing screw points in the final version.
The collars were attached to the oval forms and the shoulder form with PVA wood glue and secured in place whilst drying by two screws in the holes drilled in the block’s upper face.
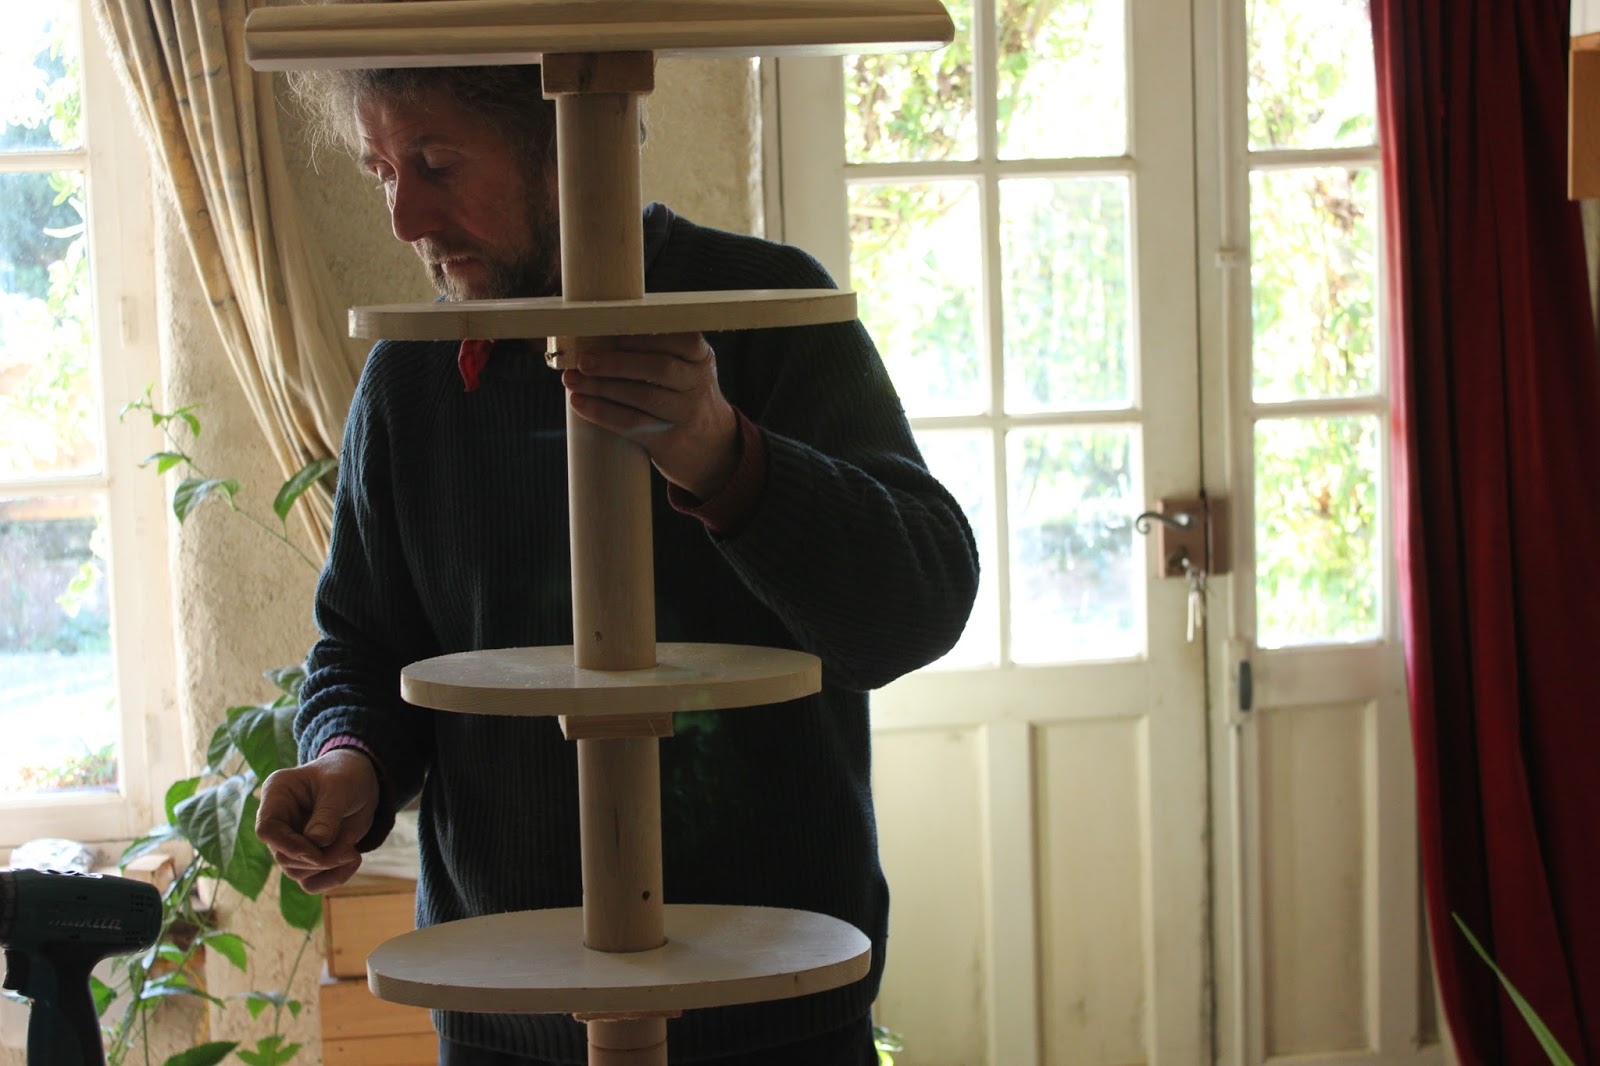
These screws were removed once the glue had set. The forms could then be assembled onto the pole. I found it essential to write on each form the character's name and the statistic to which the form related.
The forms for a specific character were then assembled onto the pole. The ‘shoulders’ were screwed near the top of the pole and the bust/chest, waist and hip forms were then oriented, positioned and screwed in place relative to them.
Test run
From the first time of use there has been no doubt that Sue has found the mannequin to be of paramount importance with the project to hand. The only drawback is that sometimes, especially at night, the dressed mannequin can take on a surprisingly human appearance and frequently demands a second look to determine there is no-one there...
Now if you'd like to, sit back and watch the film:

If
you've
enjoyed this article and found it useful please feel free to share it or
to comment and/or make observations. All the very best and until
next time,
Andy
© Andy Colley 2015


Thanks for sharing, this gives me ideas.
ReplyDeleteHi there and thanks for your comment, much appreciated even though for some reason I've only just found it - sorry about that. If you have time do get back to me and let me know how you got on with it. Sue found this dummy so useful when she was working on the costumes and she also took it out to a yard sale and put clothes and jewellery on it. At the moment it is hibernating in a fruit crate until the next project comes along. All the very best, Andy
Delete