Showing posts with label saving energy. Show all posts

Home-made, Big, Low Cost Glass Greenhouse from Free Recuperated Windows Part 2

The very first step in constructing the greenhouse was to decide on the size for it. We'd earmarked a vegetable plot where it was to go and as it had a hedge along one edge and a rose border on another, both of which we wanted to retain a practical size of 5m long by 3m wide was decided. This gave adequate space for access with ladders or steps during construction.


Although it is a large sized greenhouse and in itself quite an imposing feature, it actually fits very well into its surrounding landscape. Being surrounded by greenery as it is now, obviates the need for shade cloths, which in the early days were necessary to prevent the scorching of leaves in the very hot, clear days of Summer. We live near the sea and at times the light here can be very intense.


The roof covering was to be of 200 micron polythene UV stabilised (polytunnel material) and this could be purchased by the metre and was 7.5 metres wide. As the roof was to be gabled we bought a 4m length, the polythene width was more than enough to cover the greenhouse length.


For the south 3m wide end I had recuperated some French windows and these and the entrance door on the North end set the wall height of the greenhouse.

Having now decided the overall dimensions of the greenhouse the preparatory work could begin.

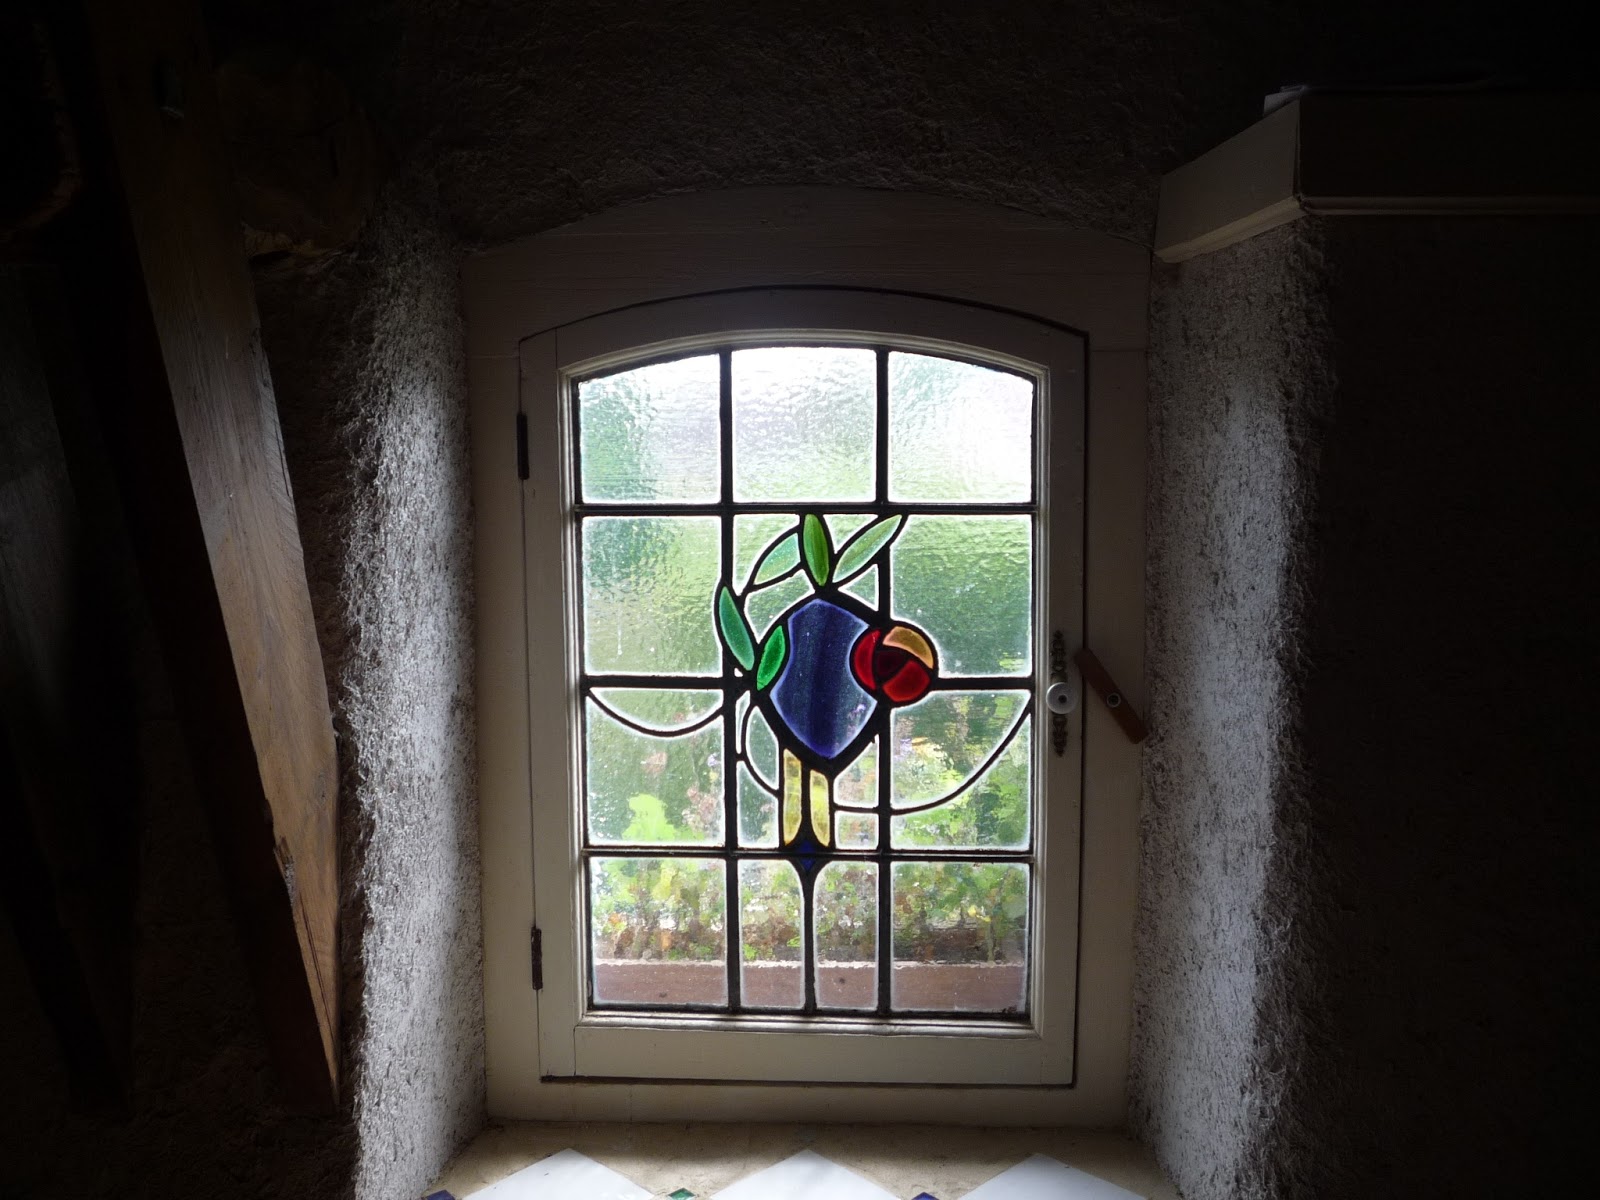
All of the windows I'd collected were casement windows, that is, windows that open on hinges attached to one vertical side of the frame. Most of them were paired and had a weather strip where the two windows met in the middle.


Along the bottom edge of all these windows was a weatherboard to deflect rain running off the window onto the window sill. As the casement window fits into a frame this moulding is not flush with the bottom but is attached about 10-20mm from the bottom edge.

Apropos of hinges

The hinges need to be removed as they will interfere with the fit.

Recuperating old windows to make a greenhouse

Some hinges can be removed by unscrewing but, bearing in mind that these are old windows, the screw heads will usually be sealed under several coats of paint. Nevertheless, with a little care they will usually come out. I clean the paint away from around the screw heads with a sharp awl and ensure the screw heads have all the paint removed so that the screwdriver fits tightly. If after all this effort the screws refuse to budge then you have to resort to drilling out the heads, it won't matter if the rest of the screw remains in the frame. Alternatively, you can use a hacksaw or angle grinder to remove any protruding part of the hinge and leave the remaining metal plate complete with screws in place.
.


To bring the windows' heights to that of the French windows I decided to support them on walls made from pallet wood. Now that I knew the wall lengths I could sort the windows to fit, number them and mark their position on a plan.


Before making the walls, the bottom of each window projecting beyond the weatherboard was sawn off providing a wider face to rest on the wall.

TIP: (photo above) Screw a plank of the appropriate thickness to the face of the window so as to ensure that the saw blade will cut a square face to the bottom of the window. 


The wall panels were made from pallet wood planks nailed to a rectangular frame. Each frame was again of pallet wood but I selected planks for this from more robust pallets (approx 100mm x 22mm, 4" x 1"). These planks were screwed together to form the frames and the pallet wood planks were nailed to what was to become the outside face thus forming a box.


There were seven 75mm (3") square wooden posts, each bolted to a galvanised steel stake driven into the ground (one at each corner, one midway along the longest sides and one to form the doorway). A line running from post to post marked the perimeter to which the wall panels needed to abut.


In addition, I made T (Tee) shaped stakes from 22mm thick pallet wood, which were to be driven into the ground on the inside of the greenhouse. These would provide a solid support for the wall panels.


All the above preparation meant that when we finally came to construct the greenhouse it went together as a kit.

The roof trusses too we pre-fabricated in the workshop too but for clarity I'll deal with these in a separate post
.


If you are thinking of building a glass greenhouse and would like to know of some of the extra plants, in particular tropical spices you will be able to grow, then sit back and take a look at this film:


Thanks for dropping by and please feel free to share this article, comment, ask questions and if you'd like to be assured of getting the next post, then sign up to follow this blog.


All the best, Andy

© Andy Colley 2014

Home-made, Big, Low Cost Glass Greenhouse from Free Recuperated Windows Part 1

Over the next few weeks I will be involved in several projects using recuperated glass windows and doors and I thought I'd start by taking a retrospective look at the greenhouse I designed and made 5 years ago. 

Several of you have commented on this greenhouse, which has been shown in various films and blogs. Sadly, when I designed and made it, we did not have a digital camera with which to take detailed step-by-step photographs. Therefore, I am taking this opportunity, whilst it is being restocked with Spring plantings, to take some shots of the fabric of the interior for a detailed explanation of the design and construction. This will form Part Two of this post. In the next few weeks, I will also be giving a hand to my neighbours, who are in the process of constructing a large lean-to, verandah-type greenhouse, so there will be another design, both in film and blog form to share. 


What, where and how to get supplies

Unfortunately for the good of the Planet and paradoxically fortunately for us, there seems to be an unlimited supply of virtually brand new, as well as interesting and beautiful old,  glass doors and windows. To judge by the veritable mountains outside joiners and carpenters businesses en route to landfill, many people change their windows as often as others might paint the frames. Over the years we have collected dozens of examples, including, in the UK some very pretty leaded lights. These latter turn up in architectural salvage yards or 'junk' shops, with the very best examples finding their way into auction rooms and antique shops. In a greenhouse or house these can be used to great effect. 

For a supply of general glass windows and doors though, there is nothing like your local joiner's shop or doubleglazers. I made contact with the owner of our local one, having seen a huge pile of useable material in his yard and he was delighted we wanted to take it away and make use of it. We also sent him photographs and film links for everything we made and when we were looking for a front door for the house, he even carefully got us a door with the doorframe and keys intact! As a matter of fact over the past five years, from just this one source, we and our friends have glazed two entire houses (one of them completely doubleglazed) and built several greenhouses.


Stand Alone Greenhouse - The basic design criteria


The idea for the greenhouse was to have something that was both decorative and practical. In particular as it was going to form the centrepiece for the flower garden. We wanted plenty of height both for aesthetics and because we intended to grow many climbing vegetables and flowers and also to incorporate our solar shower.


We had been collecting suitable materials for some time and in all we used 24 windows/French windows of various ages and designs but which overall seemed to fit pleasingly together. The sides and the back were to be made of windows set on pallet wood walls, similar in design to those of the hen house. On each side there was also to be guttering for the collection and harvest of rainwater.


The front was designed to incorporate a matching set of old French windows and glazed panels with the addition of a panel of leaded lights incorporated into the gable end. The French windows and the door on the rear elevation were both of the same height and these together set the height for the greenhouse.


It's all in the planning


There are two ways to go when designing a glass greenhouse, you can either plan it around available materials or you can plan it first and then search for the windows to fit. We actually were lucky, in that five years ago PVC mania hit our part of the coast and we had a plethora of great windows to choose from. In effect, the whole design was built up around the French windows, matching panels and leaded light, which were really elegant when placed together. The planning of the design was in fact the most difficult part of the whole operation, in that the location of the windows had to match the desired length for each side. Furthermore, any difference in window height had to be accounted for in the construction of the pallet wood walls to ensure that the overall height was respected. In conclusion though, we were left with a unique bespoke greenhouse which would have cost us several thousands of Euros.

Here is the film we made about this greenhouse, showing both exterior and interior views and giving some initial pointers to the design. See you in Part Two


Thanks for dropping by and please feel free to share this article, comment, ask questions and if you'd like to be assured of getting the next post, then sign up to follow this blog.


All the best, Andy

© Andy Colley 2014

Make a Wooden Fuelless Cooker or Hay-box - No Power? No Worries. Hot Food.

The cardboard box version of the fuelless cooker as described in my post a few days ago is fine as a 'quick fix' or an emergency back-up. In this post I'll share how to make a more robust model which you can keep to hand in the kitchen or, as we show in the film, to take in a car to provide hot, nourishing food on a journey. There are two ways you can use a fuelless cooker, firstly you can use it to cook a whole meal, this was the way it was used in previous centuries both for men and women working in the fields and long distance travellers and how we used it in the film. Secondly you can use it in your kitchen, to save energy when cooking a stew or similar dish, which requires slow cooking. We actually did this too with our cassoulet when we returned home in the evening, taking it from the box, where it was still quite warm and transferring it to our wood cooker. I have to tell you that after several years of making and eating this dish it was the best we had ever eaten! Furthermore we had saved on four hours of fuel.


Design and Materials


Our wooden box sits next to the telephone and is robust enough to act as a comfortable low seat. It was made using pallet wood and 10mm (3/8") thick pine cladding. This latter was left over from when I made the hen house last year. The insulation was 45mm (1¾") thick organic hemp and vegetable fibre, purchased in a 1250mm x 600mm (4' x 2') sheet for about $5.00.


I based the design of the box around our largest saucepan and for ease of loading when hot, the lower portion of the box was not much higher than the two handles on the side of the pan (as seen above). The box lid was deep enough to fit over the portion of the pan standing above the box rim.

Both the base and the lid were made in the same way, that is the vertical sections that made up the inner and outer walls were stapled to an upper and lower square frame, the width of the frame was the thickness of the insulation. 

I arrived at the box dimensions from the size of the saucepan. This size would be the minimum internal dimension of the box. To arrive at the outside wall height for the box base I had to add the thickness of the box bottom, the insulation and the thickness of the platform wood. I always tend to regularly check the measurements especially prior to cutting the wall material - better to be safe than sorry!

I had originally thought of making the frames like picture frames, with mitred corners but decided against it for two reasons, one is I'm pretty crap at achieving consistently accurate cuts, especially at 45° and secondly and more importantly I didn't believe that sort of joint would be strong enough to cope with the load from a pan full of hot stew! 


Construction


Select the pallet wood for the frames, cut to width (that of the insulation thickness) plane it smooth and cut to length.


Four frames are needed (2 for the base and 2 for the lid). To ensure they are all exactly the same size assembled them in a jig. I made this by screwing three straight pieces of wood in a 'U' shape to a piece of chipboard. The size of the U being the size of the frame and the corners at right angles. 


Position the two vertical legs of the 'U' against the sides of the jig and check that they touch the bottom jig edge, apply wood glue (PVA) at the corners and put the third, horizontal part of the 'U' along the corresponding jig edge. Ensure that all 3 pieces are pushed firmly against their guides and staple or nail where they overlap. Turn the, now joined three wood pieces around in the jig so that the fourth, open side of the 'U' is sitting against the bottom jig edge. Once again glue the corners and position the fourth piece of the frame on top and staple or nail.
 

The reason I used a 'U' shaped jig and not a complete square is that it is much easier to remove the frame by sliding it out rather than trying to lift it.
Repeat for the other three frames and then stack all four frames and clamp at each corner and leave to dry.


The bottom face of the box has pallet wood planks nailed to the frame to form a solid support.


Turn the base over and cut and fit two extra pieces of wood to the frame. This is to furnish a vertical face to which the box walls can be attached.


The saucepan is to sit on an insulated platform made to fit into the square recess created in the previous stage. The platform is about 20mm smaller than this recess to account for the wall thickness and is deep enough to fit a square of the 45mm thick insulation beneath it. Being removable it can be taken out and cleaned if there is any spillage.


Now comes the clever bit, I already know the height I need for the box base so I measure the internal wall height and include the height of the insulated base. Cut the 10mm cladding to this length.


Use panel pins to attach the walls to the base. Ensure a good fit at the corners.


The base now looks like this. 


Prior to fitting the top frame to the base, attach two additional wooden pieces, so as to make a flat surface to the frames upper face.


Nail, or staple the top frame to the walls of the base.


The box now looks like this. The outside walls can be cut to length and the insulation cut to size for the walls and the insulated platform.


The insulation should be a good, close fit to ensure maximum efficiency.


Attach the outer cladding. I tend to use the stapler because it's less tedious but panel pins are fine.


Cut two carrying handles and fix to the box, screwed through the walls into the upper frame.


The insulated platform can then be dropped into the completed base.


The construction of the lid is similar to that of the base except that the top outer cover of the lid is put on last. I found that this makes it easier to attach the inside walls to the frames.


First, cut the interior walls to length, which is the height of the pan  and lid projecting above the box base plus the insulation thickness and the thickness of the cladding covering the insulation.


Fix the interior walls to the lower frame........


............and the upper.


To make the space for the insulation at the top of the lid cut two 45mm wide pieces of wood to the internal dimension of the lid and wedge them in place at the top of the lid, with a few millimetres protruding above the uppermost face.


Cut cladding to fit to these two pieces and attach. The cladding must not overlap the edges.


Remove this assembly, turn it over and put it back into the lid top.


Tap it flush to the upper face of the frame..........


..........and attach to frame.


Cut insulation for walls and
top, cut cladding and attach.


Cut and attach two handles, securing them, as before, by screwing them to the upper frame.


To ensure a snug fit of lid to base, cut four pieces of fruit crate wood (5mm pine), to fit around the inside of the lid perimeter and chamfer one edge of each piece.


Staple, or nail these pieces to the inside wall of the lid, chamfer facing out and protruding about 10mm. This acts as a guide to align the lid to the base and produces a more effective seal to prevent heat escaping.


And there it is all ready for the next power outage, energy price hike or picnic.


Bon appétit! Now if you'd like to sit back and watch the film: 


If you would like a cheap and cheerful project, which is great fun to make and use, then take a look at my cardboard box fuelless cooker design


Thanks for dropping by and please feel free to share this article, comment, ask questions and if you'd like to be assured of getting the next post, then sign up to follow this blog.

All the best, Andy

© Andy Colley 2014